Mandala: Centering at 32
Plaster
12″ x 16″ x 1″
October 2013
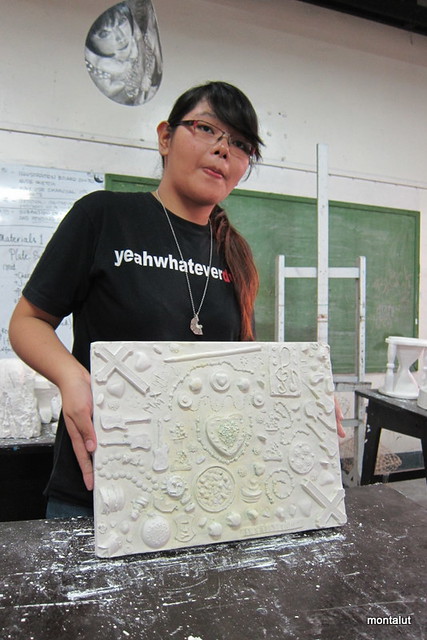
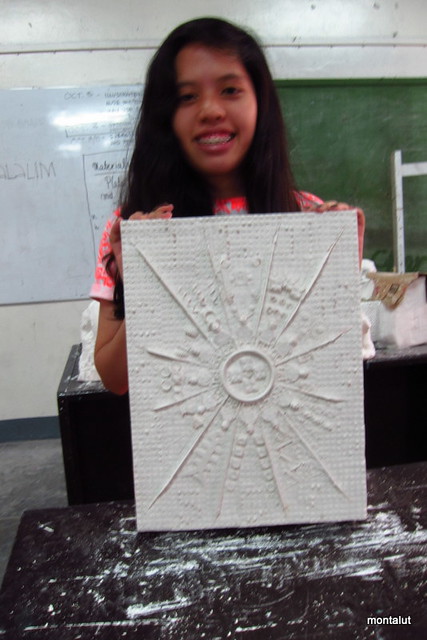
We were asked to do an autobiographical relief (that means a half-sculpture, like a raised drawing) using clay as a mold. We were to mark the clay with found objects that were special to us.
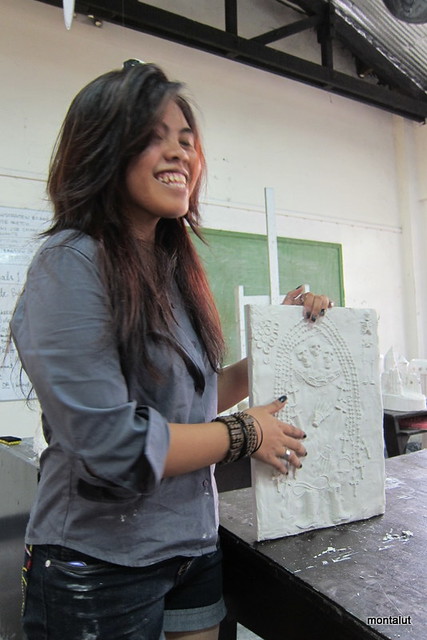
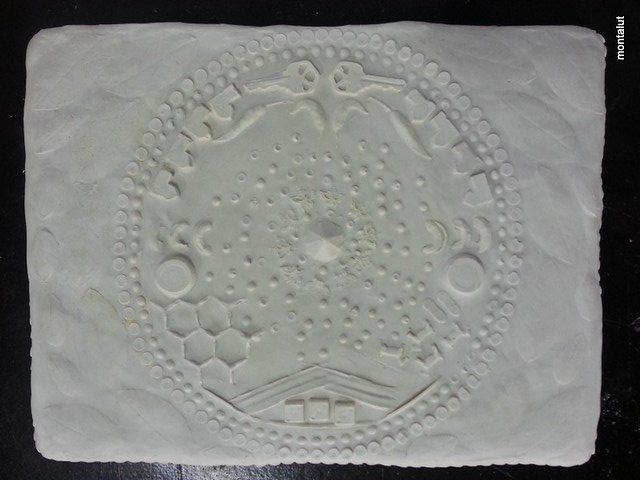
Can you make out the different objects embossed on my mandala? There’s a nut in there somewhere, a couple of gameboard pieces, tips of long things we use everyday, etc.
Problem:
How do you narrate an autobiography through a relief sculpture?
Procedure:
- Make a mold border measuring 12″ x 16″ x 2″ (inside measurement) using wood.
- Lay 1″ flat layer of modelling clay inside the mold border, and leave the remaining 1″ empty.
- Create texture and debossed images by pressing objects against the clay layer to achieve your desired autobiographical composition.
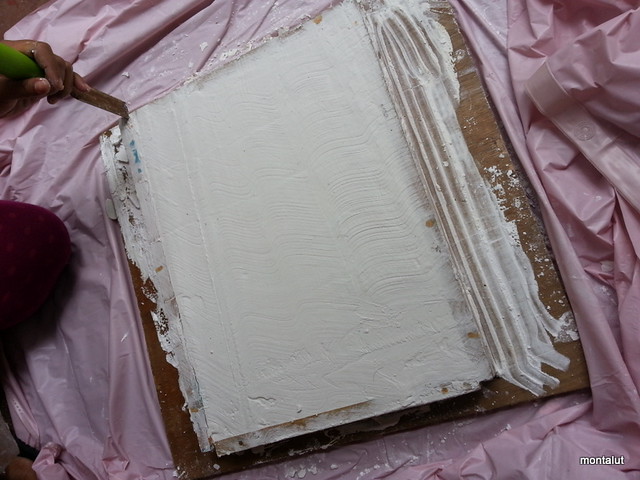
- Pour plaster of paris up to the rim of wood border, and use a piece of flat wood to level the plaster cast and remove excess material.
- Separate the plaster relief from its clay mold.
- Clean and prepare for presentation.
I was sick on demo day so I wasn’t so confident to do it on my own at home… True enough, my first attempt failed, and it took careful experimentation with the plaster mix and clay pressings to get it right on the second try.
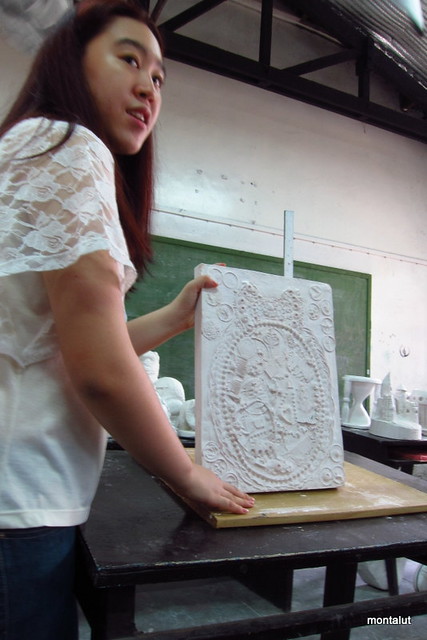
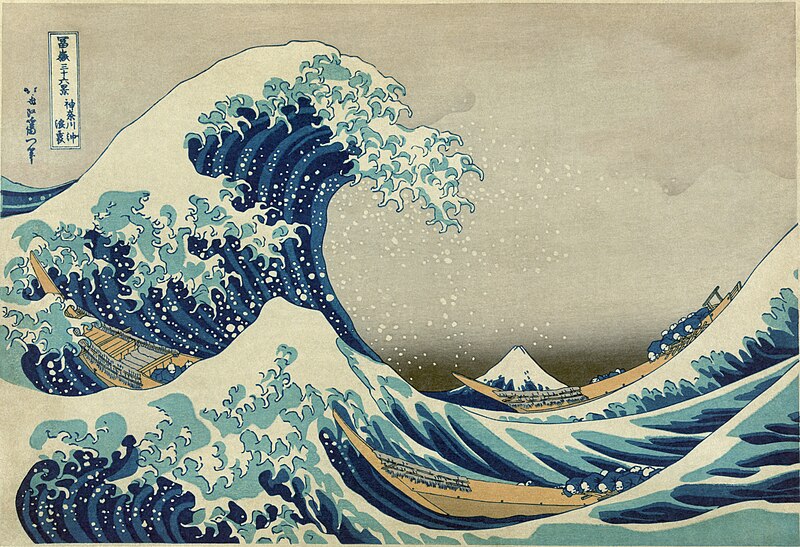
I originally wanted to do a piece on “flow”. My first design was a wave, inspired by The Great Wave at Kanagawa (from a Series of Thirty-Six Views of Mount Fuji) by Katsushika Hokusai:
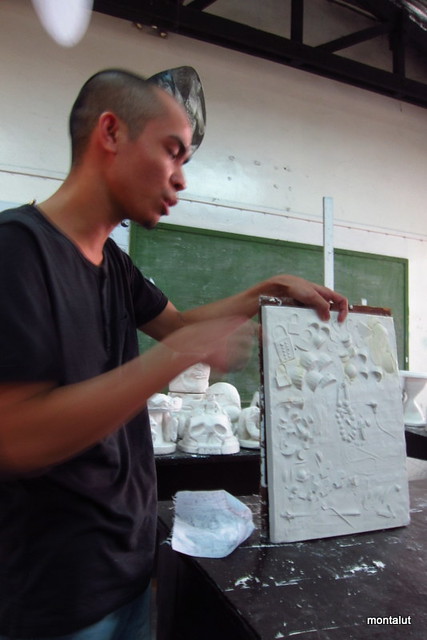
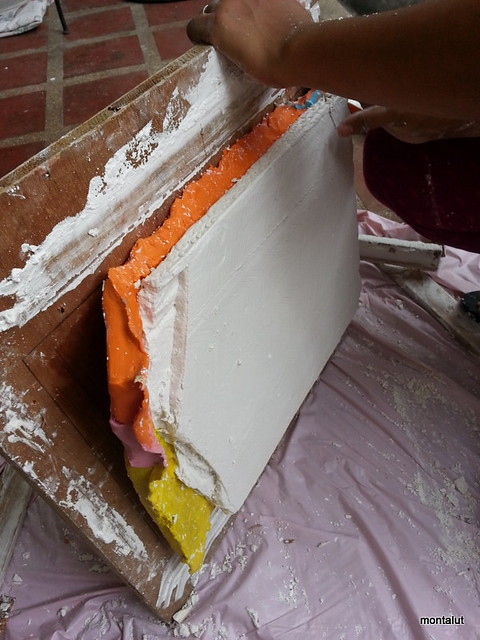
Here’s Cris helping me out with a big smile. The plaster was already dry at this point and ready to be separated from the mold.
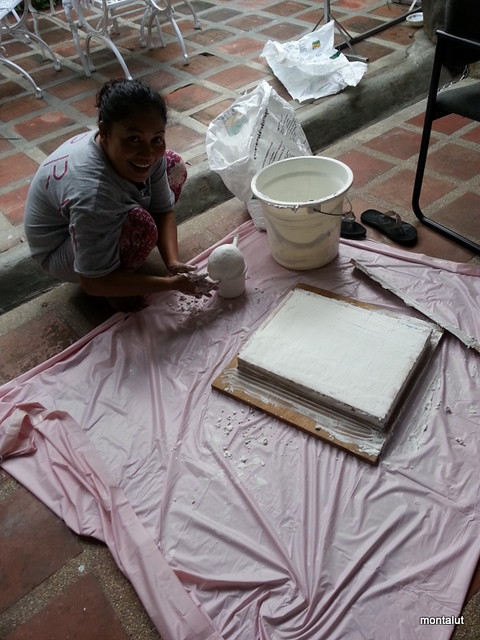
We were careful in removing the wooden frames– the slightest pressure would crack the sculpture.
Because I skipped the demo, I didn’t know that you weren’t supposed to do it this way.
The right way would’ve been to just lay the whole thing on the floor with the plaster side at the bottom, remove the frames all around, then lift the wooden backing and clay off the sculpture.
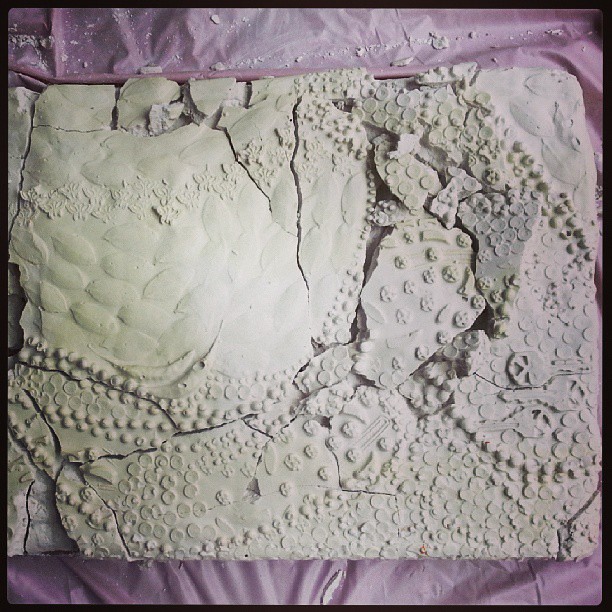
Attempt#1 ended up with lots of cracked pieces…
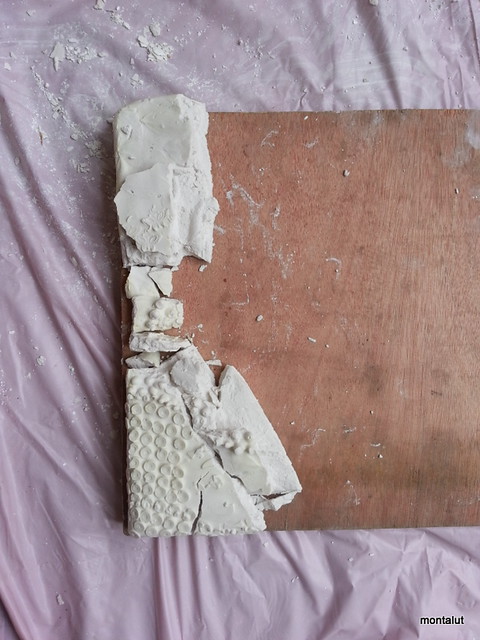
Plaster bas relief ruins. Major fail. Huhu. Back to square one.
Realized my wave design with deep impressions wasn’t going to work for this plate.
Lessons learned: get the mix right, be joyful while working, if digging deep make it count. Pwedeng life lessons na rin!
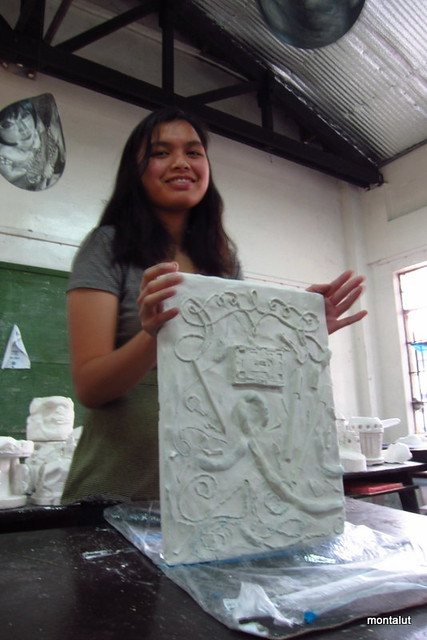
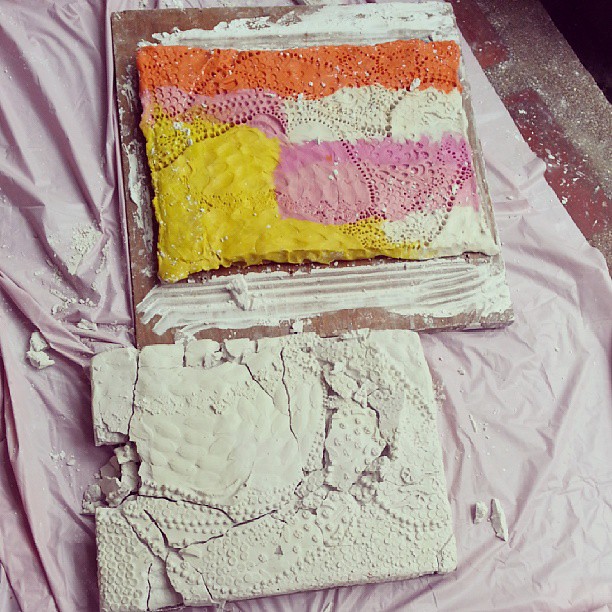
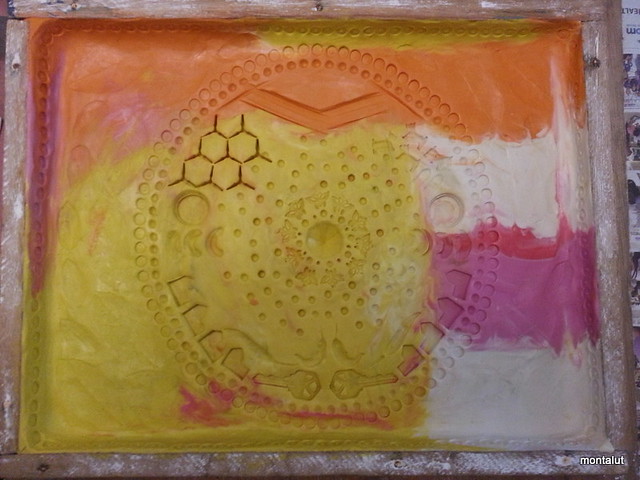
Attempt#2: We built the frame again, re-kneaded and laid out the clay layer. I changed my design altogether and went with a mandala theme.

To the right, you can see the objects I used to deboss the clay: paintbrushes, a pen, key to my first house, costume beads, siling labuyo, butterfly charm, and leaves from my favorite indoor plant: the zamia.
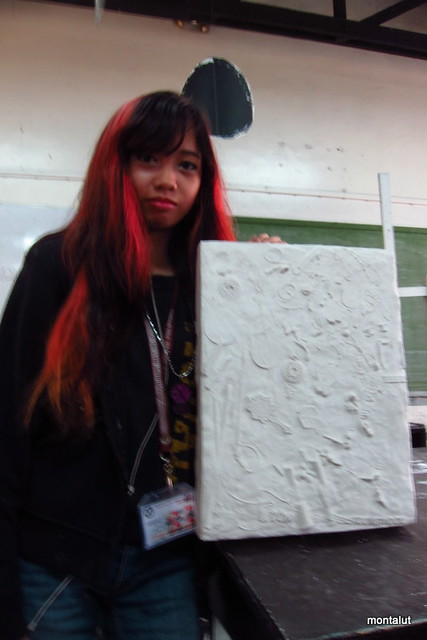
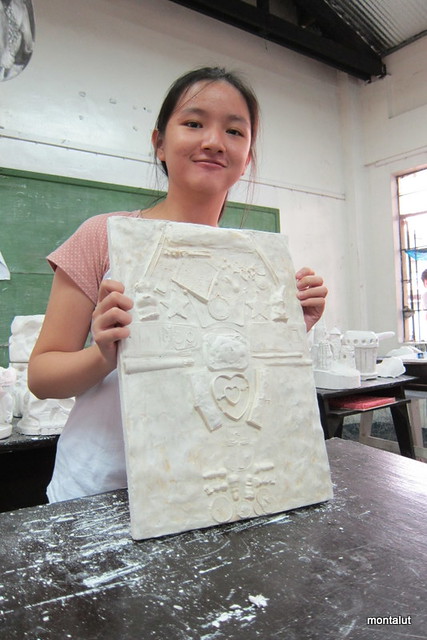
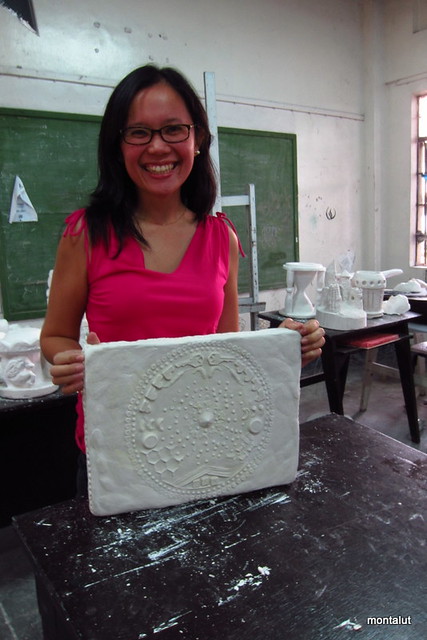
Voila! Here’s the final plate, presented on the last day of class for the first semester (hence the big smile) 🙂
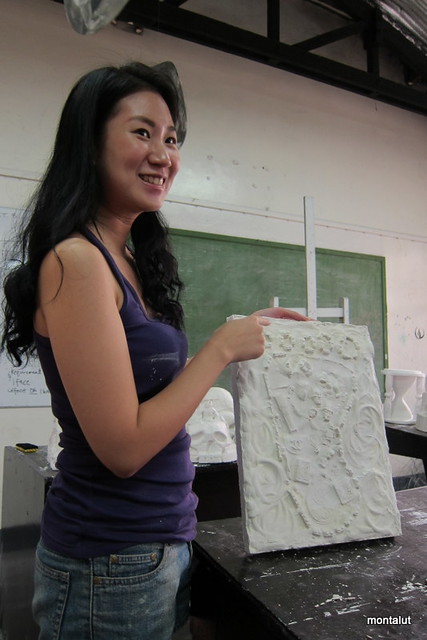
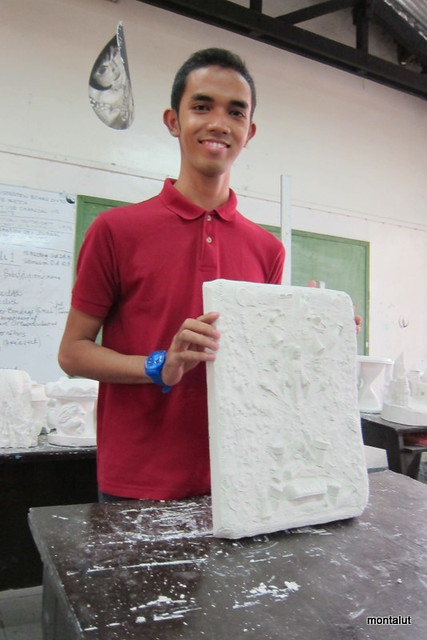
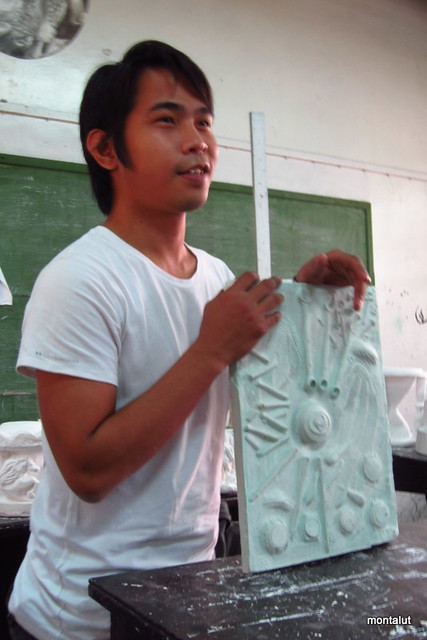
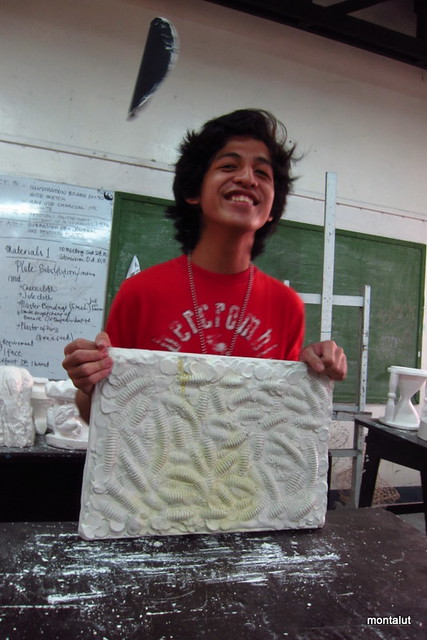
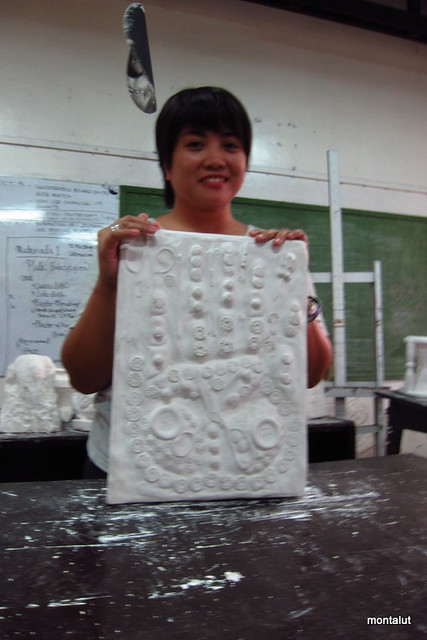
More works from classmates: